


Full Building Review with Images Step by Step of the Antonov An-2V Colt on Float - Trumpeter 1:72
I mostly deal with airplanes (or tanks) from WWII, so this Antonov is a subject a little different for me. I bought it on an Ebay auction, for a bargain price, and since them it waited patiently on the stash.
Looking for something different for a quick build, last month I decided to see what this kit had to offer.
THE PLANE
Quoting Wikipedia, The Antonov An-2 (Russian nickname: "Annushka" or "Annie"; "kukuruznik" - corn crop duster) is a Soviet mass-produced single-engine biplane utility/agricultural aircraft designed, NATO reporting name Colt.
The An-2 is used as a light utility transport, parachute drop aircraft, agricultural work and many other tasks suited to this large slow-flying biplane. Its slow flight and good short field performance make it suited for short, unimproved fields. The basic airframe is highly adaptable and numerous variants have been developed. The An-2 indeed has no stall speed quoted in the operating handbook. Pilots of the An-2 say one can fly the aircraft in full control at 48 km/h (30 mph). The An-2 was used by combat services in the Korean War. During the 1960s an An-2 attempting to engage South Vietnamese naval units was shot down by an F-4 Phantom II.
THE KIT


I will not comment about accuracy, because that is not my field, and instead i will talk only about how the kit goes together. Details are not the best, over all inside the cockpit, but in any case enough to reproduce a nice model. Flash is present but at minimum level. Fitting is generally good, but with some remarkable excpetions. I was worried about the big transparent frame enclosing the cockpit, and because how it is engineered (one upper and two lower parts) and because it is where the upper wing finds its main support, and instead it went out fitting like a gloves.
Some problem instead appeared with the joing lower wing - fuseleage, but nothing that you cannot deal with some putty and sanding. More serious was the affair with the floats. Indeed, the instruction there are very unclear and fuzzy; the struts to attach the float were not fitting; and on my kit were missing a couple of pieces (not missing from the sprue... no... they just weren't there, so or it is missing a small sprue containing that pieces, or something is wrong). So at the end i had to scratchbuild some of the struts and assemble everything following my instinct and not the instructions.
THE BUILD


As usual i started with the cockpit, that didn't take very long due the lack of detail. Interesting side note about the instruments panel: the details here instead to be raised as usual, are engraved. So no drybrush, but a wash with white that very easily catched all the small details. Great idea, over all in this small scale.
The transparent was easy to mask, because the frame had a nice 3D effect allowing an easy cut of the masking tape. The kit provides also transparents for the wings' lights, and as for the 90% of the models here the fit is not perfect, so you need to sand, fill, and then sand and polish to bring back the transparency. Clear parts on the fuselage had an excellent fitting.
PAINTING AND WEATHERING
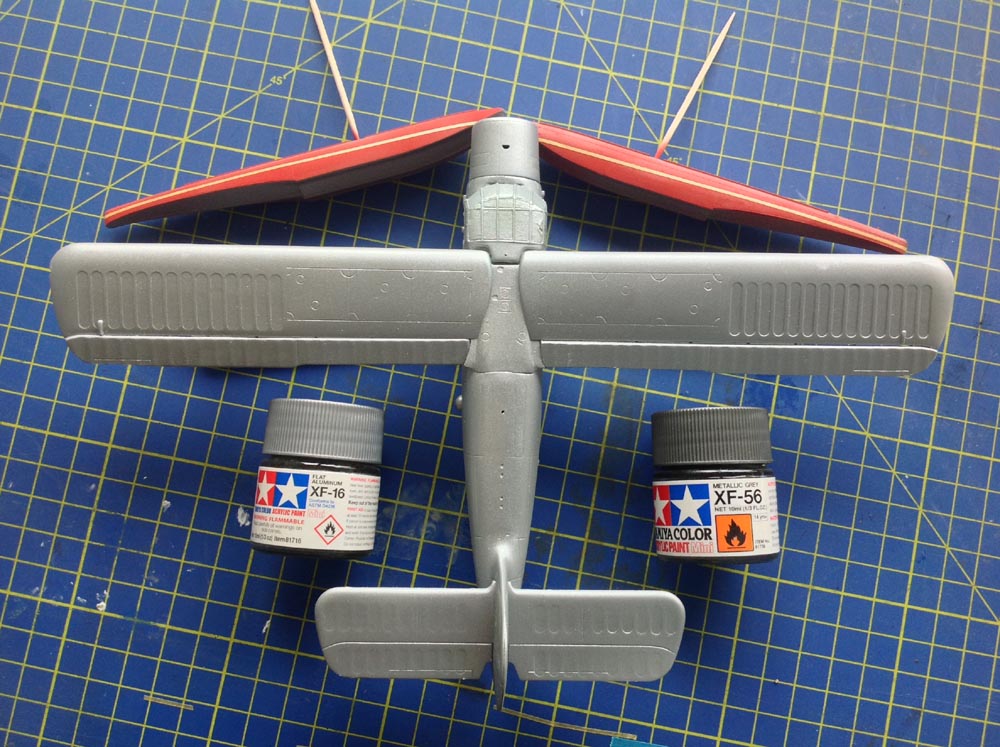


I primed the model with metal paint, because i will use the hairspray method. Then i did some preshade, applied the AK chipping fluid, sprayed with tamya colors (personal mix) doing some highlight and post shading, and finally i did the chips with a delicate "massage" with the brush damped in hot water.
Rigging was made with elestic cable, and same for the aerial, with the exception of the vertical, not tensed, cable that is made with fishing line.


For the weathering i used the usual mix of various techniques: washes (with oils and turpentine), some more airbrush, drybrush (used with the brush almost fully unloaded, just a gentle "massage" to add some more color in some areas), oils to add some streaks and patches.
Hopefully you will enjoy it !


